Glowing Like A Christmas Angel // Makeup Tutorial
Hey there,
I've been looking for the perfect glowy look for Christmas morning, and I've finally found it, so today I'm showing you guys how I achieve my most glowy look for Christmas. This got to be a record since it's my second makeup tutorial in a week, actually in two days because I shot this the day after I shot the first makeup tutorial I did for you. Anyway, I hope you liked this, I really do. It's the very first time I do this makeup, like I literally never tried this before I shot this, so it could have been a total fail, but I think it turned out good, don't you think?
I found the perfect background as you can see, and thus the perfect spot to settle down for a makeup tutorial in my room, so I'm pretty happy about that as well. Let me know what you think. I know I said it before but I'm really happy about how my room turned out.
Anyway, I did my foundation, concealer and brows before I started the makeup tutorial because my face hasn't really changed since my last tutorial, which was yesterday, so yeah... still covered in redness and spots, and still screaming S.O.S. I've started a new skin care routine though, so I'll let you know how it goes.
For foundation, I used the same as always, the Revlon ColorStay, for concealer I used the Anti-Age concealer from Maybelline, to set everything I used the Stay Matte Powder from Rimmel, and for brows I used the Gimme Brows brow gel from Benefit that I love so much.
I then primed my eyes with the Undercover Eyeshadows Primer from Rimmel, and it was time to start!
First, I took the Scandalous Eyes eyeshadows stick from Rimmel in the shade Bulletproof Beige, which I really like, it's quite pigmented and easy to apply. The color is like a glowy beige color.
So I just applied in all over my eyelids, and in a V shade on the outer corner of my eyes. I then blended it with an all over shadow brush. I also brought the shadow down to the beginning of my waterline, and on the inner corner.
Then, I took the shade YDK from the Naked2 Palette and I applied it on my creases with a small fluffy brush, and brow it down to the low outer corner of my eyes.
I really wanted my eyes to pop, as always, so I took the Half-Baked shadows from the Naked2 Palette, which is a gold sparkly shadows. I just applied this shadows in the center of my eyelids.
Even though I liked the look like that, I still wanted to apply a little bit of eyeliner, so I took the 24/7 liquid liner from Urban Decay and I drew a thin line and finished it with a small wing at the end.
I then applied mascara with the Too Faced Better Than Sex mascara. I applied on my top and bottom lashes.
After this step, it was time to complete the rest of my face if you can say that. I took my Bourgois Maxi Delight Bronzer, which is quite sparkly so it was perfect for the look I was going for. I forgot how much I loved this bronzer, it smells so good and it really brights up the face. So I applied this along my jaw line, on the sides of my forehead, down my chin as well.
For Blush I used a creamy blush from Topshop in the shade Flush and I applied it on my cheeks Then I took the Bobbi Brown Shimmer Brick in the shade Nectar and I applied on top of the cream blush to set it.
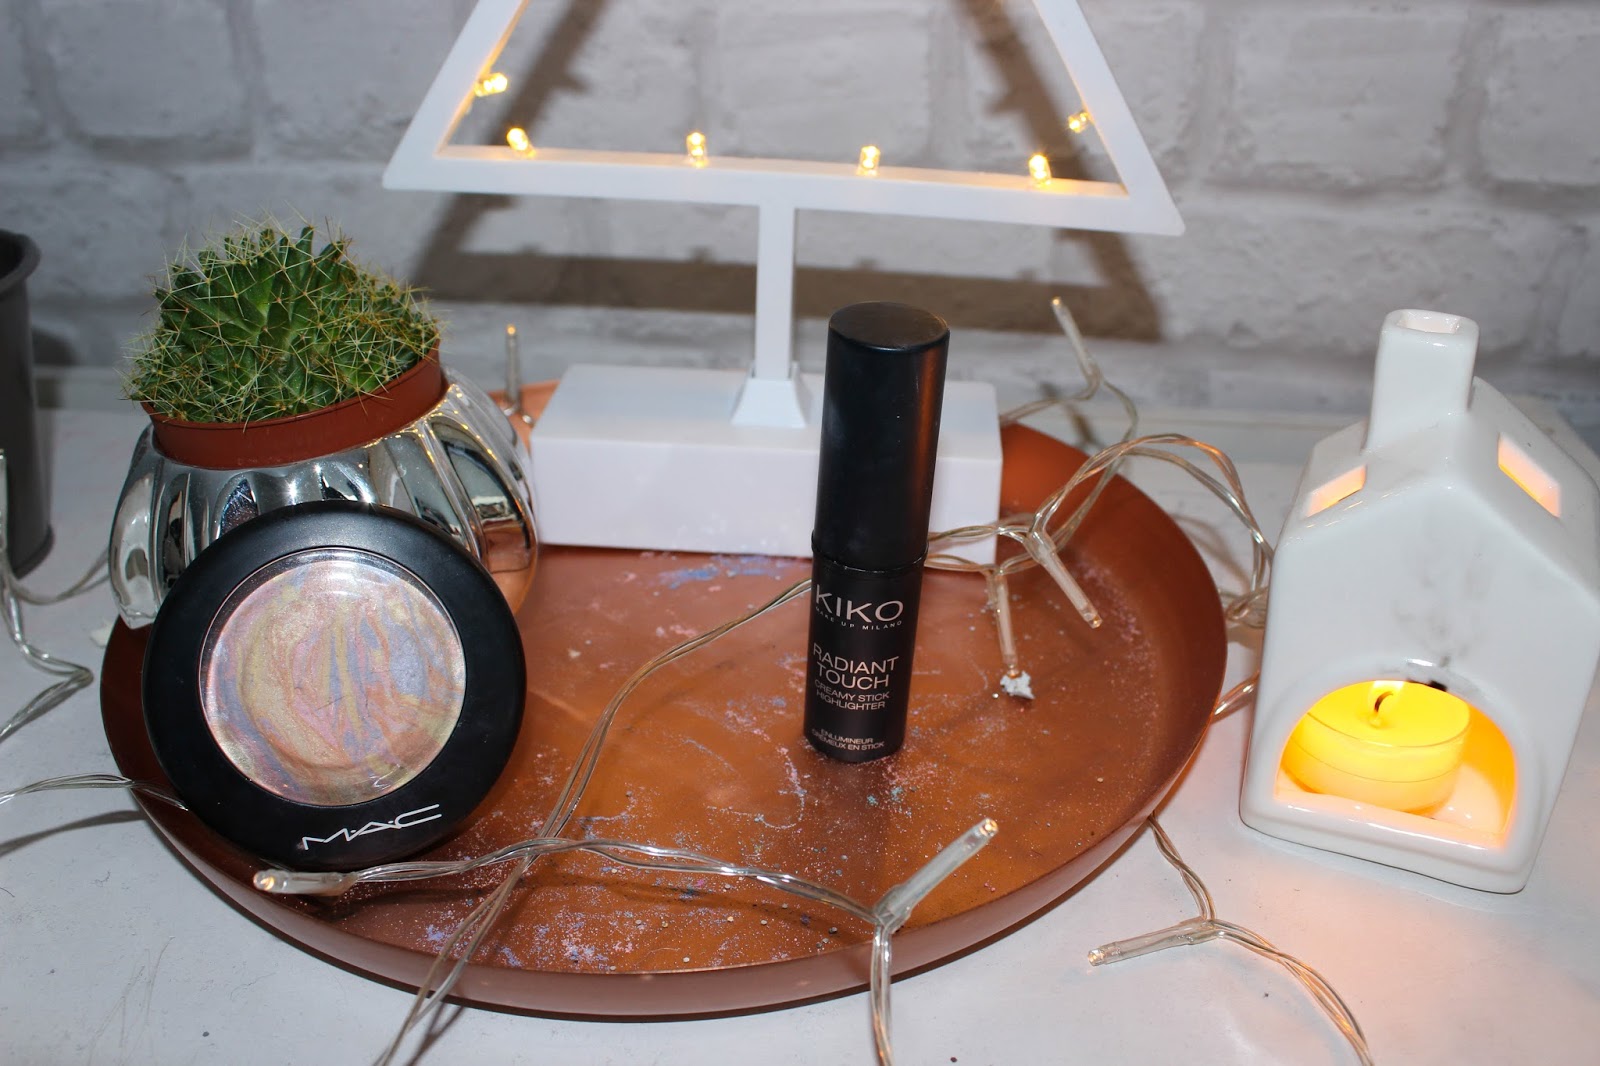
For highlighter I used the highlighter stick from Kiko on the top of my cheeks, down my nose, cupid bone and under my eyebrows, and I blended it with my finger. I then took the Mac Mineralize powder and I applied on the same spot to set the first highlighter and get a very glowing look.

Last step, lipstick! I applied the M.A.C Red lipstick from Mac. I really love, it's the perfect Christmas Red lipstick, it stays on forever and the color is just amazing.
That's it for the finished look, I hope you like it, let me know what you think! I really had fun doing this makeup, and I really like the result.
Don't forget to follow me on Blog Lovin so you'll know whenever I post something. I have a lot of goodies coming your way, so stay tuned!
See you soon,
Love,
Elsa.


Enregistrer un commentaire