
It's the Vampy Season // Fall Makeup Tutorial
Hello there,
Today I'm back with a new makeup tutorial starring one of my favorites autumnal lipstick! Fall means darker shades, aka purple/dark red lipstick. So far it's no groundbreaking news. I know I'm not much original to come up with another Fall Makeup Tutorial with dark lips but I swear my makeup tutorial is different since it's quite simple to recreate and it's not starring gold eyes or shimmery eyes (much).

Anyway let's get into it!
I thought that I would show you my whole and complete makeup routine again since it has been quite awhile since I last posted it, even though it hasn't changed much. I thought it would be cool for those of you who are new to my blog (Welcome by the way!) and haven't read all my posts, yet... (What are you waiting for?! Just kidding, no peer pressure).
So I start off with foundation using the Revlon Color Stay foundation for combination to oily skin in the shade fresh beige.

I apply it all over my face by putting one drop of the product directly into my Real Technique brush, adding one "dot" on my chin, nose, forehead and right and left sides of my head, and then blending with the brush.
Then I take my Rimmel Wake Me Up concealer and I put the product directly into my face, starting under my eyes, down my nose, a little bit on my chin and forehead, and I blend with the same brush from Real Technique.


To set my foundation, I take my Rimmer Stay Matte Powder and apply it all over my face with a powder Brush from Real Technique.


Next I take my Benefit Gimme Brow Gel to fill in my brows. I know... apparently they look weird, thanks to my boyfriend for letting me know that my eyebrows look weird... But anyway, I need to get them tweeze, hopefully soon.


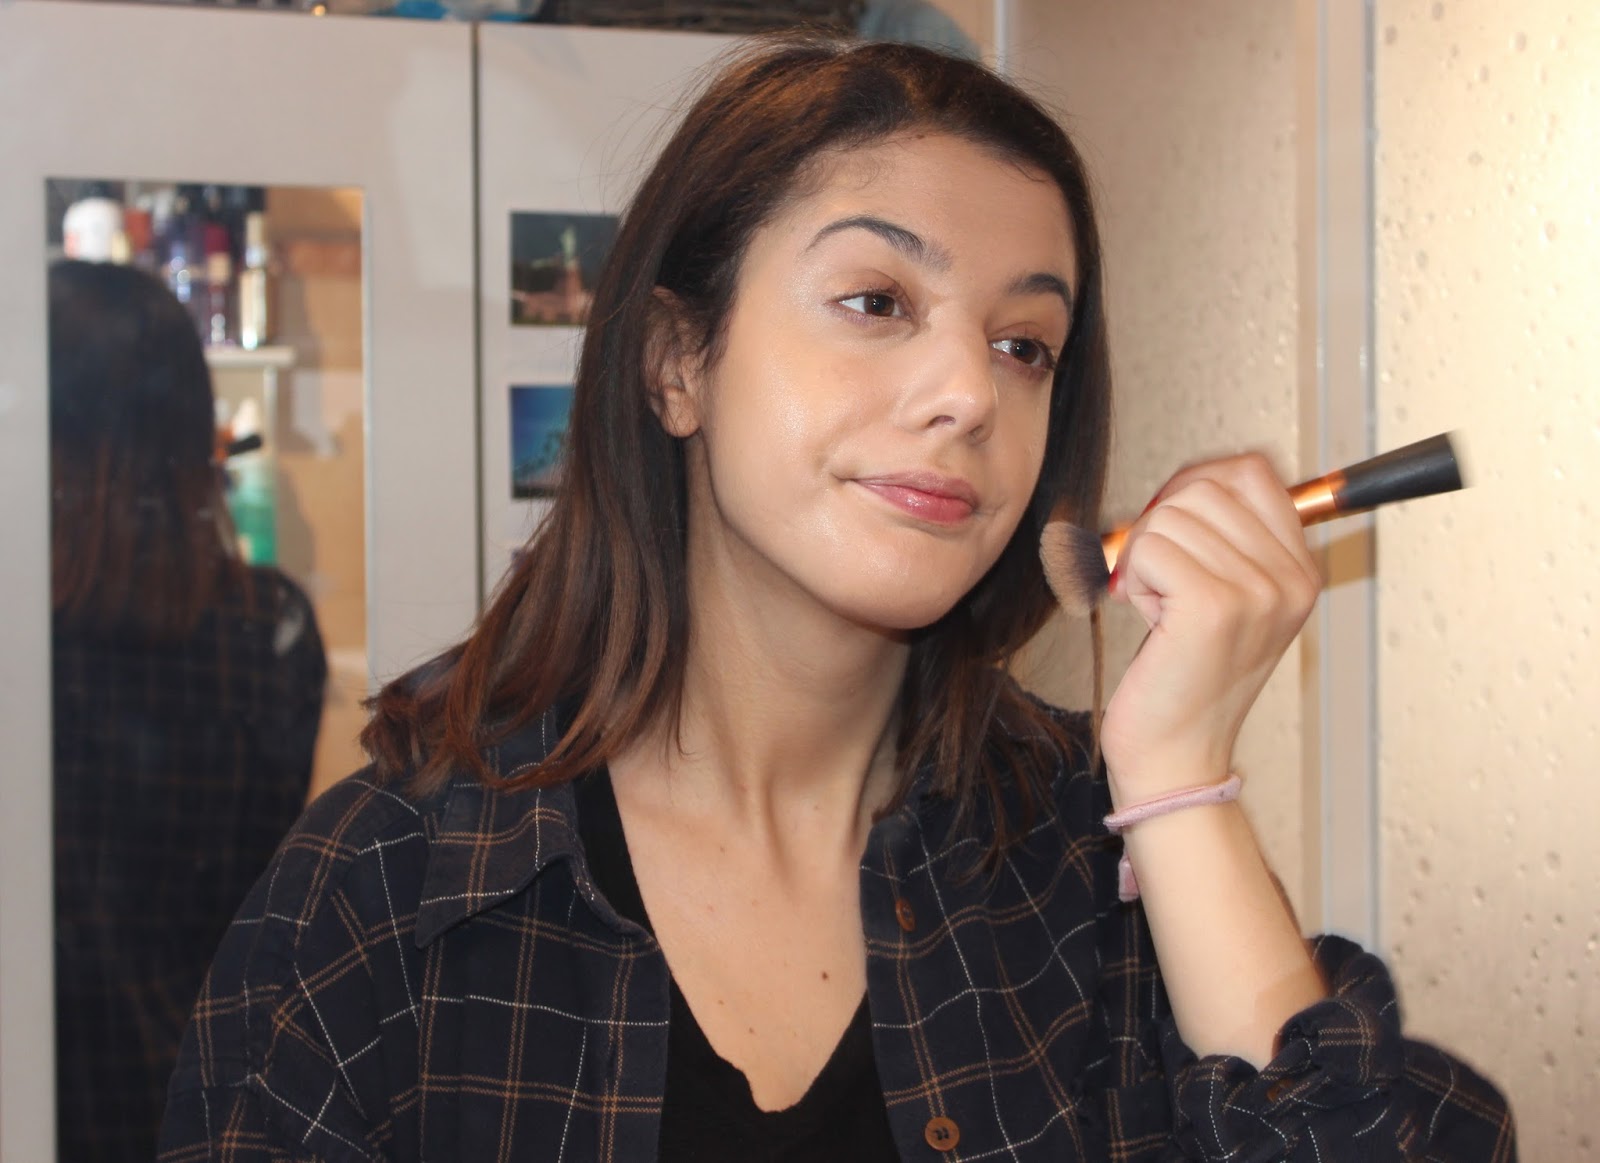
For contouring, I use the Bourgeois Delight Bronzer with a contouring Brush from Sephora. I apply it doing a fish face under my cheeks, tamper and jaw lines, kinda like a 3 shapes.

I personally think that this bronzer is great if you're new at contouring and highlighting your face. You don't need to go for the crazy contoured Kardashians look if you're just a beginner. I really love this one, even though I have to do some touch up during the day, I love how it really defines my face and adds a little bit of sun (and glitter) to my face.

Then, I take my cream blush from Topshop in the shade Flush, it's a bright pink shade, and I apply it on my cheeks with a cream brush from Real Technique.

I really really really love this blush, I'm pretty sure I've already talked about it, and if not, what is wrong with me?! It's amazing! It brights up my face, and it lasts forever! Plus, I feel like it's easier to apply a cream brush than a powder brush. You can either apply and blend it with your finger or with a cream brush.

In order to make sure the cream blush lasts and is set, I use my Shimmer Brick Palette from Bobbi Brown, which adds a little bit of shimmer to my face.

Now, I know for fact that I talked about this before. It's my favorite thing in the entire world, I know it looks messy but it only proves how much I love and used it. I cannot think about the day it's going to run out because they don't sell this in France... #crying

For highlighting I use the Kiko Radiant Touch Highlighter stick, I apply it down my nose, on my cheeks and on my cupid bone, and I blend it with my finger.

I forgot to take a picture of the highlighter... But if you look at my very first makeup tutorial post you'll know what I'm talking about.

Now it's time for the eyes! First I prime my eyes with the Rimmer Undercover eyeshadow primer. Dabbing it on my eyes and blending with my finger.

I also forgot to take a picture of the primer but if you look at my previous makeup posts you'll see it as well.
Next, I take my Urban Decay Vice Palette, and on the nuder shades side, dip my All Over Brush from Sephora into the shade Undone, and apply it all over my eyes lid.


Then to add more definition, I take the shade Downfall and apply it on my crease with the 218 fluffy brush from Makeup Forever, and bring it back a little bit on the outer corner of my eyes.


To really add more depth to my look, I use the DTF shade and apply it with a small flat brush from Makeup Forever on my crease as well. The idea here is just to create a sort of line to define the eye.


Next, to add a little autumnal color I take the shade Alchemy and still with my flat brush from Makeup Forever, I apply it on the outer corner of my eyes and bring it back a little bit to my crease. I'm kind a creating a C shape on the outer corner, actually.


For eyeliner, I'm using the same old 24/7 Liquid Liner from Urban Decay, and even though I'm loving it, and have been loving it for almost a year now, I'm kinda getting sick of it, and I want to try something new. So let me know in the comments if you have any liquid liner suggestions for me.

Anyway, so I draw a thin line with the liquid liner and finish it with a wing. I must admit I quite messed up this time, but I'm getting to the end of my liquid liner, so it's getting harder and harder to use it to draw a line... I have to shake it every 3 seconds or so... Not ideal...
For mascara, I'm using the Better Than Sex mascara from Too Faced, which I still love! And I apply it on my top and bottom lashes.

Last step, lipstick! My favorite lipstick during fall and winter is the Diva lipstick from Mac. It's a deep purple matte lipstick with pink undertone. I really love it, it adds a dramatic touch to a look. If you're looking for cheaper option, because Mac lipsticks tend to be quite expensive... I highly recommend the Wicked or Inhibition shades from Topshop.

They are quite similar shades, on the purple/deep burgundy shade, the quality is also great, they are creamy, so great to apply, and they last on forever. Plus they are much cheaper than Mac.
I'm probably going to do a Lipstick Collection with Swatches soon, that's why there's no swatches on this post. So stay tuned! If you follow me on Blog Lovin you'll know exactly when this future post will be posted. Just saying! Plus, we can be internet buddies.

So that's it for the finished look. Hope you like it as much as I do. Again, I'm no professional in makeup, so it might look messy to some of you or not look good at all for some of you, but I like it and in the end of the day, it is what matters. As long as you like what you're doing, everything will be fine!

But if you have any advices, suggestions, recommendations for me, just leave a comment below, I'll be more than happy to talk with you and learn from you.
See you soon,
Love,
Elsa


Enregistrer un commentaire