Social icons

Glowing Like A Christmas Angel // Makeup Tutorial

Hey there,

I've been looking for the perfect glowy look for Christmas morning, and I've finally found it, so today I'm showing you guys how I achieve my most glowy look for Christmas. This got to be a record since it's my second makeup tutorial in a week, actually in two days because I shot this the day after I shot the first makeup tutorial I did for you.  Anyway, I hope you liked this, I really do. It's the very first time I do this makeup, like I literally never tried this before I shot this, so it could have been a total fail, but I think it turned out good, don't you think? 


I found the perfect background as you can see, and thus the perfect spot to settle down for a makeup tutorial in my room, so I'm pretty happy about that as well. Let me know what you think. I know I said it before but I'm really happy about how my room turned out. 


Anyway, I did my foundation, concealer and brows before I started the makeup tutorial because my face hasn't really changed since my last tutorial, which was yesterday, so yeah... still covered in redness and spots, and still screaming S.O.S. I've started a new skin care routine though, so I'll let you know how it goes.


For foundation, I used the same as always, the Revlon ColorStay, for concealer I used the Anti-Age concealer from Maybelline, to set everything I used the Stay Matte Powder from Rimmel, and for brows I used the Gimme Brows brow gel from Benefit that I love so much.


I then primed my eyes with the Undercover Eyeshadows Primer from Rimmel, and it was time to start! 


First, I took the Scandalous Eyes eyeshadows stick from Rimmel in the shade Bulletproof Beige, which I really like, it's quite pigmented and easy to apply. The color is like a glowy beige color.


So I just applied in all over my eyelids, and in a V shade on the outer corner of my eyes. I then blended it with an all over shadow brush. I also brought the shadow down to the beginning of my waterline, and on the inner corner.


Then, I took the shade YDK from the Naked2 Palette and I applied it on my creases with a small fluffy brush, and brow it down to the low outer corner of my eyes. 


I really wanted my eyes to pop, as always, so I took the Half-Baked shadows from the Naked2 Palette, which is a gold sparkly shadows. I just applied this shadows in the center of my eyelids. 


Even though I liked the look like that, I still wanted to apply a little bit of eyeliner, so I took the 24/7 liquid liner from Urban Decay and I drew a thin line and finished it with a small wing at the end. 


I then applied mascara with the Too Faced Better Than Sex mascara. I applied on my top and bottom lashes.


After this step, it was time to complete the rest of my face if you can say that. I took my Bourgois Maxi Delight Bronzer, which is quite sparkly so it was perfect for the look I was going for. I forgot how much I loved this bronzer, it smells so good and it really brights up the face. So I applied this along my jaw line, on the sides of my forehead, down my chin as well.


For Blush I used a creamy blush from Topshop in the shade Flush and I applied it on my cheeks Then I took the Bobbi Brown Shimmer Brick in the shade Nectar and I applied on top of the cream blush to set it.


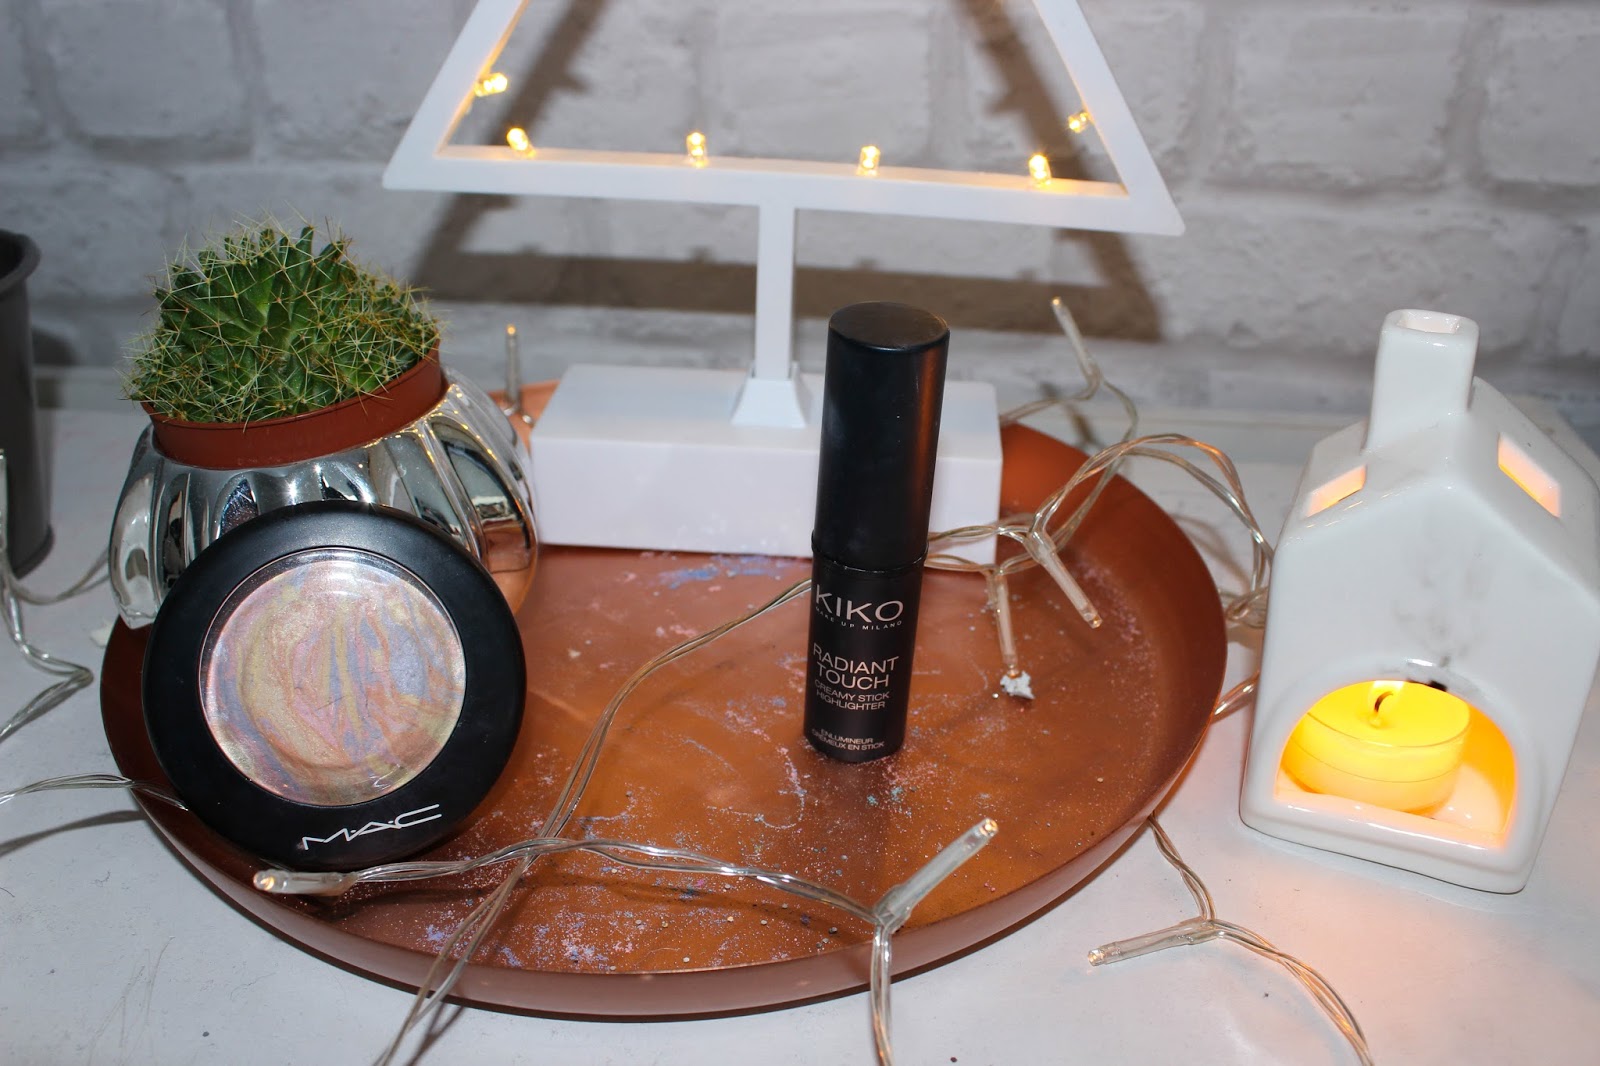
For highlighter I used the highlighter stick from Kiko on the top of my cheeks, down my nose, cupid bone and under my eyebrows, and I blended it with my finger. I then took the Mac Mineralize powder and I applied on the same spot to set the first highlighter and get a very glowing look. 


Last step, lipstick! I applied the M.A.C Red lipstick from Mac. I really love, it's the perfect Christmas Red lipstick, it stays on forever and the color is just amazing. 


That's it for the finished look, I hope you like it, let me know what you think! I really had fun doing this makeup, and I really like the result. 


Don't forget to follow me on Blog Lovin so you'll know whenever I post something. I have a lot of goodies coming your way, so stay tuned!

See you soon,

Love,

Elsa. 


Lush Christmas Wonderland // Haul

Hey there,

I don't know if I ever told you about my Lush's addiction... You may think now that I have a lot of addictions though, but I guess I am. Anyway, I love Lush and I could live at their shop, it smells so good, the staff is so nice, their products are so great etc. It's just amazing. I used to shop twice a month at their store near Grafton Street when I lived in Dublin. But now that I moved back to France, it's more complicated to find a store near my place, so I just shop online, which has its good and bad sides but I won't get into that.

For a couple of months now I have accumulated quite a lot of Lush bath bombs and since I just received some Christmassy bath bombs, I thought I'll show you my collection of Christmassy and not-so-Christmassy-but-still-magical bath bombs. So I guess this is what they called a collective haul, isn't it ? 

I have never tried most of the things I got, I just fell for the description, the pictures and the reviews, of course, but I did try some of the items before. Without further ado, let's get into it. 

The first thing I got, which I got last month I think but bought last year as well, is the Shoot for the Stars Bath bomb. This is definitely one of my favorites, it turns your bath purple with a little bit of bubble and it adds glitters. It smells amazing as well.


The second one is Dashing Santa. I've never tried it before, I got it last month as well because I heard so much good things about it. Apparently once you drop it into your bath, the bath bomb goes dashing around the bath like Santa Claus running to home from home. 


This one is one of my favorite as well. I tried it last year around Christmas Time and I immediately fell in love with it. First of all the name: Holy Go Lightly. Hum, excuse me, doesn't it sound familiar ? Like in Holy Golightly from Breakfast At Tiffany's ?  I had to get it, this is one of my favorites movie of all time with Back To The Future. Second of All, look at it! It's so pretty, all glittery, although it was much prettier when I got it last year at the shop. Anyway, this is amazing, it turns your bath a glittery green, with a delicious smell. 


Then I got the Magic Wand bubble bars, which I have never tried before but again I heard a lot about it. I like the fact that you can use it more than once, and that it actually looks like a magic wand.  It smells amazing as well. Awesome.


This one is Twilight, I'm pretty sure I've tried it before, it smells amazing, and I love the color of it. It's PINK! (Get the reference? No? Well check out Ellen's Video


So this one I got a few months back now, but it's so beautiful I don't want to waste it, and I think it was a limited edition as well, or maybe not... Anyway, it's called the Experimenter and it looks like a diamond or something magical and wonderful. I saw a demonstration when the thing just explodes in your bath and turns it into so many different colors! I save this one for a special occasion, like for a great pamper night, when I really need to relax, or just when I actually have time to settle down and enjoy my bath. 


This one is pretty magical too, I haven't tried it before for the same reason as the one before. It's too pretty... It's called Intergalactic and for some reason it just reminds me of a sky full of stars at night when I look at it. So pretty. 


Next is Frozen. I'm sorry but I had to get it, my name is Elsa and I love Frozen, the movie! This one was made for me. It smells amazing. I got it a few months ago as well but I haven't tried it yet because I didn't have time to relax actually, but I can't wait to have some nights-off. 


I also got the Luxury Lush Pud, which looks quite amazing and colorful. Unfortunately this one was kind of broken when I received it so it was not handy to take a picture of it. But it smells delicious and it's so pretty, I can't wait to try it out!

So this is it guys. Hope you liked this post, let me know if you ever tried some of the bath bombs before, and let me know what you thought of it. 

Don't forget to follow me on Blog Lovin if you like my blog because you'll know exactly when I post something! 

See you soon,

Love,

Elsa. 

Glittery Christmas // Makeup Tutorial

Hey there, 

I feel like it's been so long since the last time I've post a makeup tutorial. As you can see from the picture, I kind of changed the background, thankfully! So here's the sneek peak of my newly decorated room, which is still in the process of being organized and cleaned up, but we're not here to talk about that. In fact, today I thought I'll show you a makeup tutorial, which I've been wearing quite a lot but I think would be perfect for a Christmas party or Christmas celebration. I'm still in the process of finding out what makeup I want to wear for Christmas' Eve though... 


It's a very sparkly makeup look, which I love. I chose to wear a bright pink lipstick from Nars but this look can work with a deep red lipstick, I've tried it before with the Russian Red lipstick from Mac and it looks great too. It can also work with some nude colors. Take your pick. 
Little disclaimer, I'm no professionals, this is just me showing you guys what I think would look cute for a Christmas party. I hope you like it, please let me know if you do. 

Because my face has been screaming S.O.S, and breaking out like crazy, I decided to spare you my redness and spots, so I started it off with applying my foundation, which is the same as always the Revlon Colorstay. I also applied my concealer, which is the Maybelilne Anti Age concealer, and the Stay Matte Powder from Rimmel. I also did my brows with the Brow Satin pencil from Maybelline. 


To prime my eyes I used the Undercover Shadows Primer from Rimmel. I feel like this look pops up more when I use this than when I don't. So I apply the primer directly on my eyes with the stick and then blend it with my finger. 


For the eyelid, I took the shade YDK from the Naked2 palette from Urban Decay. I applied it all over my eyelid with the brush, which comes with the palette. It's a really sparkly beige color. 


Then for my crease, I used the Vice Palette still from Urban Decay. I took the shade Sonic and mix it with the shade Reign to get kind of a burgundy color. I applied the mix on my crease with a fluffy brush. 


I also brought the Sonic shadow down to the outer corner of my eyes.


Then with an all over shadow brush, I took the shade Last Sin from the Vice Palette, and I applied it on the center of my eyes and inner corner to open up my eyes. 


Then, I went ahead and drew a winged line with the 24/7 liquid liner from Urban Decay, and I applied the Rimmel white eye pencil on my lower waterline. I also applied mascara with the Better Than Sex from Too Faced.  


I then kept on going with my face, so I applied the bronzer from my L'Oreal contour kit, on the outside of my cheeks, on the sides of my forehead and along my jaw line. 


For blush I used two things. The first produit is the Mac powder blush in the shade Desert Pink, which I applied on my cheeks. Then I took the Bobbi Brown Shimmer Brick in the shade Nectar and I applied it over the blush to make it more sparkly. 


To highlight my face I used the highlighter from the L'Oreal kit and I applied it down my nose, on my cupid bone, and on the top of my cheeks. 

For lipstick I used the Vera lipstick from Nars, which is totally amazing, and I love it, even though it's quite pricy, but the quality is great and it lasts so long, and the color is awesome. As I said before, this look could work with either nude or red lipsticks. Once I was done, I just went back with my powder to make sure everything was set.


That's it for the finished look. I really hope you like it, I sure do.


Don't forget to follow me on Blog Lovin to be notified whenever I post something. 

See you soon,

Love,

Elsa. 


Pancakes Lover // Recipe


Hello there,

Today I'm sharing my very easy Pancakes recipe! I feel like Winter Time is the perfect time for making Pancakes, it's so festive and I just love when my family gathers around the table to eat my Pancakes on Christmas' morning. 

Get ready, here it is:

All you need for around 10 pancakes, yep not a lot but on the day I made those, we were only two eating: 

- One egg
- One Table Spoon of Caster Sugar
- One Table Spoon of Vegetable Oil 
- One Tea Spoon of Baking Powder 
- One Table Spoon of Orange Blossom
- 150g of Flour 
- 200ml of Milk 


First, break the egg into one quite large bowl, add your sugar and vegetable oil and mix it all together.


Then, mix your flour and baking powder together, and gradually add the flour and baking powder mix to your egg and sugar mixture along the milk. To be clear: take a little piece of your flour and baking powder mix, and a little bit of milk, mix it all together to the egg, oil and sugar mixture. And keep it going until you have no flour and milk left. This helps getting a smooth mixture.


Once you got your mixture, you can either add Blossom Orange like I did, or my mother used to add a little bit of Rhum to it. But that's just optional. 


Mix it again to make sure it's smooth and all good to go.


Then all you need to do is cook it! To make sure the pancakes are not too oily on the pan, I put a little bit of oil in the pan and just rub it all over the pan with a napkin. It heats up faster as well.


And that's it you have your pancakes! If you want to make more, just double or triple the recipe, obviously. 


I hope you enjoy this post, I'll try to post more Christmassy baking recipes before Christmas.

Don't forget to follow me on Blog Lovin so you'll know exactly when I post something up here.

See you soon,

Love,

Elsa.