Social icons

Celebration Smokey Eyes // Makeup Tutorial

Hey there,

In my struggle to find the perfect makeup look for Christmas' Eve, I decided to gather all my makeup palettes and have fun with them. Okay, I may not have found the "perfect" makeup look I was looking for, but, SPOILER ALERT, I did find a pretty cool smoky eye look with brown and gold tone. So today I'm showing you guys how to recreate this smokey eye. 


I'm still wondering about what makeup I'm gonna do tomorrow though... Oh well, I guess I'll have to improvise tomorrow! Yeah! 

Anyway, I started it off with foundations, concealer, powder and brows, as usual, and as you may know by now, I used the Colorstay Foundation from Revlon, the Accord Parfait concealer from L'Oreal, the Stay Matte powder from Rimmer and the Gimme Brow brows gel from Benefit. 


To start with the eyes, I took the shade Undone from the Vice3 Palette from Urban Decay, and I applied it all over my eyelids with an all over shadow Brush. This shade is a light beige, perfect for a nude look, but for this look, I just use it as a base for some reasons.


Next, I took the shade DTF from the Vice Palette and with a big fluffy brush I applied the shadow on my crease and I brought it down to the lower outer corner of my eyes.


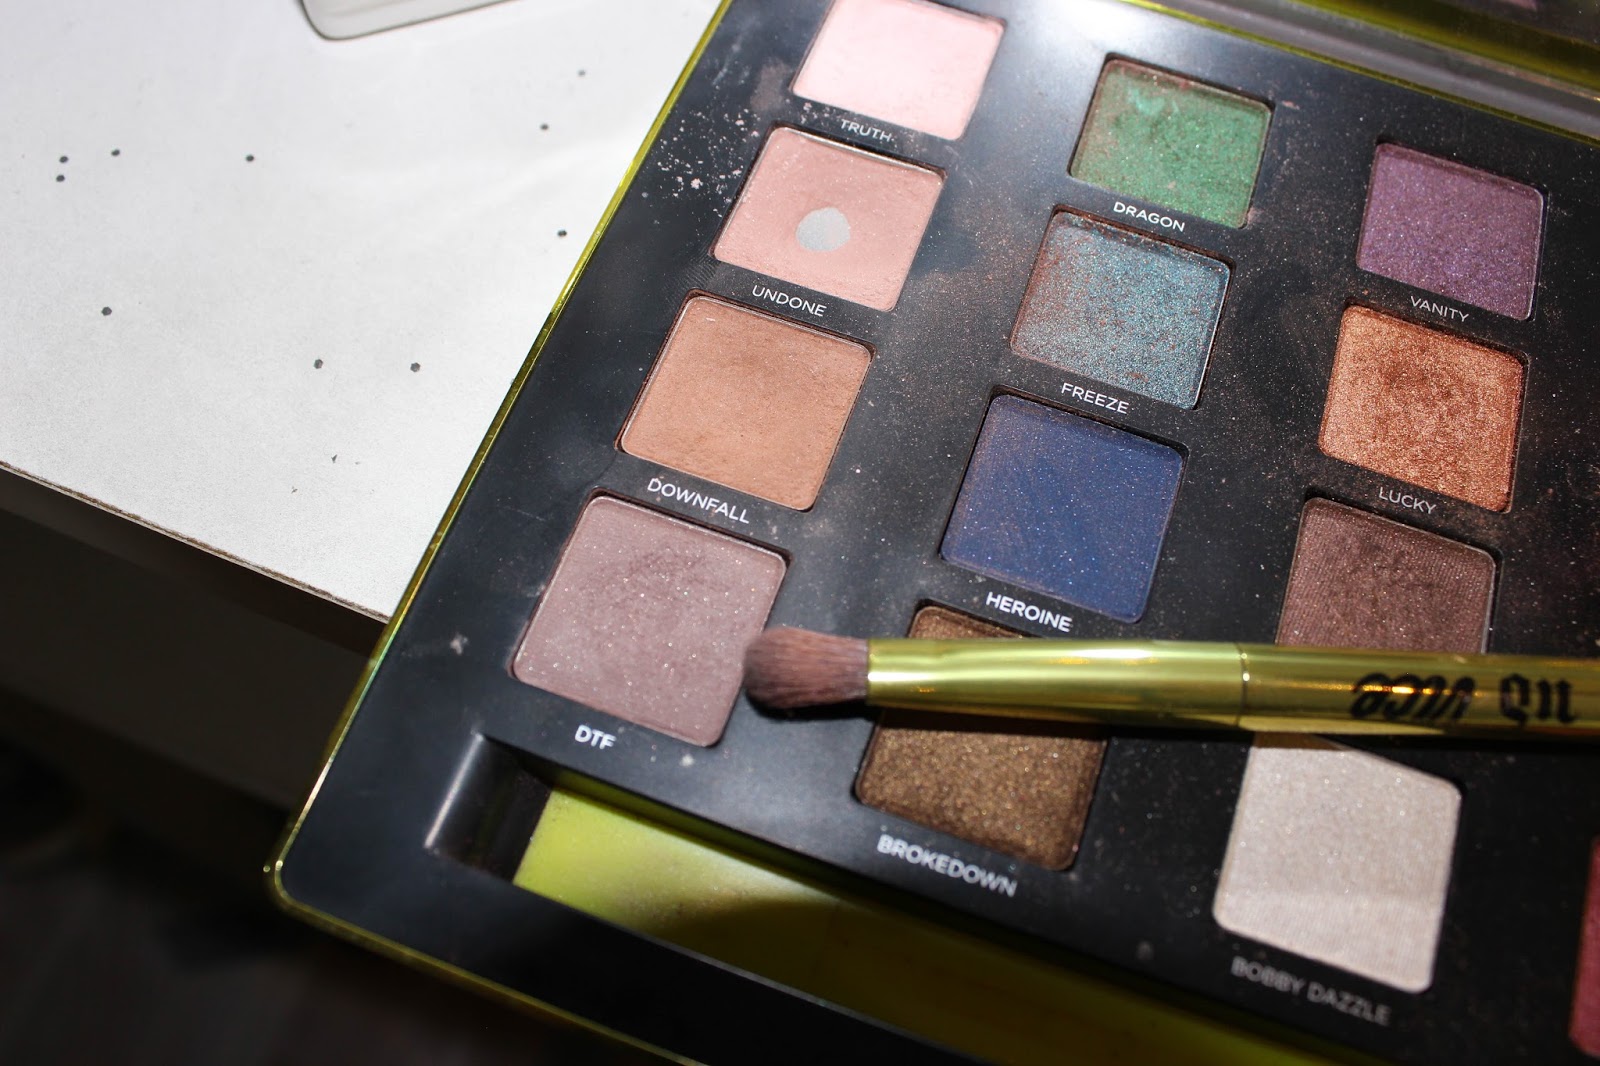
I then, took two shades still from the Vice Palette, the shade Lucky, which is a kinda gold orangy shadow, which I mixed with the Reign shadow, a shimmery brown. With a small fluffy brush, I applied those two shades in the middle of my eyelid, to make my eyes pop.


To open up my eyes, I took the shade Half-Baked from the Naked2 Palette. It's a very pretty gold shadow. I applied this shadow on the inner corner of my eyes. I also brought it down a little bit to my lower lash line still on the inner corner. 


To make my look a bit more dramatic, I went back to my creases, with the shade Busted from the Naked2 Palette. It's a deep shimmery brown color, very pigmented so I just took a little bit with a big fluffy brush. 


Next, I took the shade Snake Bite from the Naked2 Palette, and I applied it along my lower lash line on the outer corner.


I, then, took the shade Truth from the Vice Palette, which is a light pink/beige shadow. I applied this shade directly under my brows to highlight. 


For eyeliner and mascara, I use, as always, the 24/7 liquid liner from Urban Decay, which I draw a thin line, which I ended with a wing. And for Mascara, I used the Better than Sex Mascara from Too Faced on my upper and lower lash line. 


To finish up with my face, I  started with bronzer, and I used the L'Oreal Contour Kit. I applied the bronzer, on the sides of my forehead, along my jaw line and down my cheeks. 


For the blush, I used something I just got and I already love! It's the Hot Mama Blush from the Balm. It's quite similar to the Orgasm blush from Nars. It's really pigmented so I just took a little bit and I applied it directly on my cheeks. 


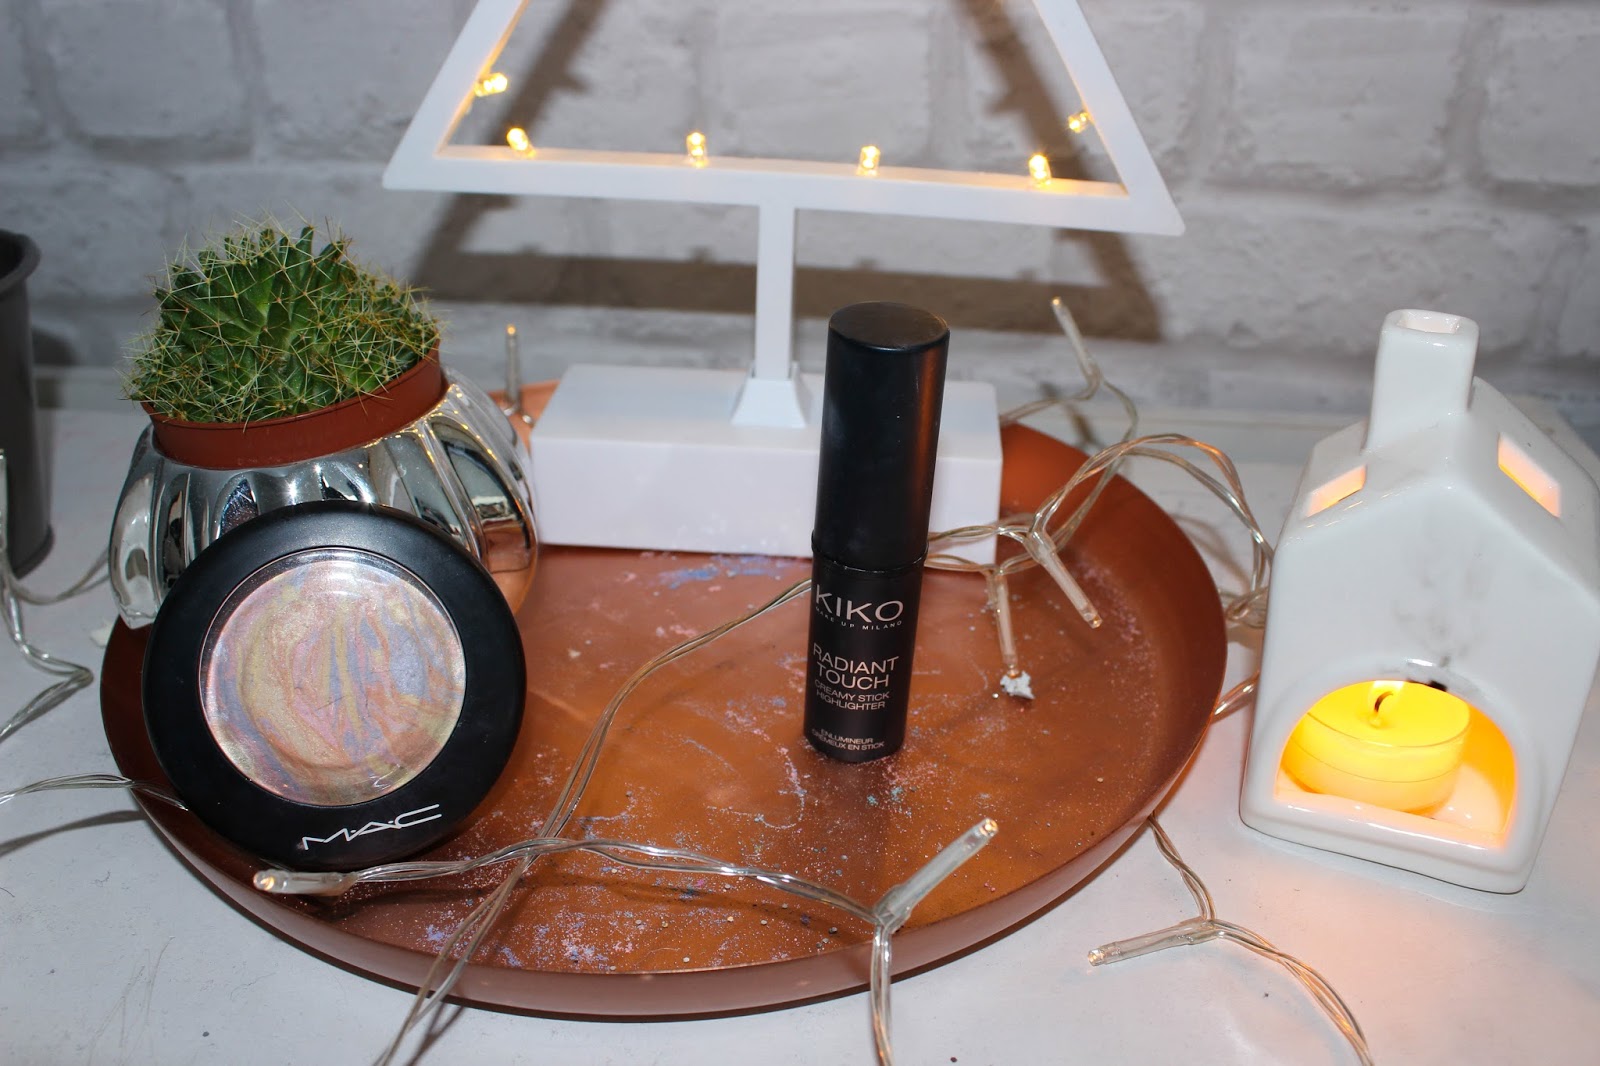
For highlighter, I use the Highlighter Stick and the Mac Mineralized Powder. I applied the highlighter, down my nose, on the upper part of my cheeks, and cupid bone. I blend it with my fingers, and then took the powder to set the highlighter, so I applied the powder on the same spot where I used the stick.


For the lips, I use the Mocha Shade from Mac. It's a light coral/nude matte lipstick. I don't use it that often because I'm more of a bold lip kind of girl but today I was up for nude lips and I really love this shade. 


And that's it for the finished look. I like it, i'm no professionals so it doesn't look Amaziiiiiing but I really like it, and I feel like it's perfect for Christmas if you're looking for a glowy/shimmery/colorful look. 


Let me know what you think! I hope you'll have an amazing Christmas Eye and a wonderful Christmas with your loved ones. 

Don't forget to follow me on Blog Lovin so you'll know exactly when my next posts are coming. I still have some goodies coming your way, so stay tuned! 

Love,

Elsa. 

Christmas in a Jar // Christmas Present Idea and Recipe

Hey there,

Do you ever get frustrated because you can't find any ideas for a gift to give to a friend, your mom, your aunt, your grandmother? Well, I do! So this year, I decided to spare myself hours of knocking my head to the wall of some big store, and I decided that maybe Pinterest had the solution of the perfect gift to give to my grandmother and other people that I won't name because they might be reading my blog. Anyway, indeed, Pinterest did have an answer! 

This is very last minute for Christmas Gifts, but I really found this idea quite great and original, so I thought I'd give it a go. I really liked the result, so I thought I'll share it with you. I didn't invent this, I just saw it over on Pinterest. By the way, if you're curious, you can go over there for my Pinterest.  

Although I did find the idea on Pinterest, the recipe I used comes from my personal recipes, I did not use the one from the Pinterest post. But what is she talking about? You might ask yourself... Well the fabulous idea I'm rambling about is those big cookies or brownies recipe jar! Ever heard about it? It reminds me of those baking preparation you can find at your grocery store, you know? But in a classier and DIY way. I just found it cute, and I thought it was a great Christmas gift idea.


Because I am a very nice person, I'm gonna share my very own recipe of cookies. Although I decided to do 6 jars with two different recipes: I'm doing cookies and brownies. However, for the brownies, because I've never succeeded at baking brownies, I use this recipe

For the record, I decided to use my own recipe because I've tried if before and I know the cookies I bake with this recipe are delicious. Even though the recipe from the Pinterest post could be delicious as well, I didn't want to take the risk, just in case...


For my recipe, you'll need:
- 250g of Flour
- 250g of Brown Sugar 
- 90g of Caster Sugar 
- One Tea Spoon of Baking Powder 
- One Tea Spoon of Baking Soda 
- A Pinch of Salt 
- 200g of Chocolate Chips (or more) 

I put the ingredient in a specific order, that is the way I add my ingredients in the jar. You get different colors, which adds more structure to the jar, I think. Of course the recipe doesn't stop there. The ingredients I listed are the "dry ingredients", the ones that you can save in a jar for months before use the jar to bake something. You don't want to put your melted butter or you eggs in the jar. So for the rest of the recipe, you'll need:

- 1 Egg
- 175g of Melted Butter
- 1 Tea Spoon of Vanilla Extract 


If like me you want to do this jar to offer to someone, you just have to put all the dry ingredient into your jar, then add a little paper to the jar, like attached to the jar, where you write the rest of the ingredients needed, and the instructions, which are: Mix the whole thing together (Dry and not dry ingredients), create small balls (a golf ball size) and lay them on an oven plate, then just put them in your heated oven for 10 minutes (maybe more, like 12 minutes) at 175°C. 


And if you want to keep the recipe to yourself, you naughty little elf, you just have to follow the instructions, and you get awesome and delicious cookies, perfect for Christmas Time. 

That's it for today, hope you like this post! Let me know what you think!

See you soon,

Love,

Elsa. 


Glowing Like A Christmas Angel // Makeup Tutorial

Hey there,

I've been looking for the perfect glowy look for Christmas morning, and I've finally found it, so today I'm showing you guys how I achieve my most glowy look for Christmas. This got to be a record since it's my second makeup tutorial in a week, actually in two days because I shot this the day after I shot the first makeup tutorial I did for you.  Anyway, I hope you liked this, I really do. It's the very first time I do this makeup, like I literally never tried this before I shot this, so it could have been a total fail, but I think it turned out good, don't you think? 


I found the perfect background as you can see, and thus the perfect spot to settle down for a makeup tutorial in my room, so I'm pretty happy about that as well. Let me know what you think. I know I said it before but I'm really happy about how my room turned out. 


Anyway, I did my foundation, concealer and brows before I started the makeup tutorial because my face hasn't really changed since my last tutorial, which was yesterday, so yeah... still covered in redness and spots, and still screaming S.O.S. I've started a new skin care routine though, so I'll let you know how it goes.


For foundation, I used the same as always, the Revlon ColorStay, for concealer I used the Anti-Age concealer from Maybelline, to set everything I used the Stay Matte Powder from Rimmel, and for brows I used the Gimme Brows brow gel from Benefit that I love so much.


I then primed my eyes with the Undercover Eyeshadows Primer from Rimmel, and it was time to start! 


First, I took the Scandalous Eyes eyeshadows stick from Rimmel in the shade Bulletproof Beige, which I really like, it's quite pigmented and easy to apply. The color is like a glowy beige color.


So I just applied in all over my eyelids, and in a V shade on the outer corner of my eyes. I then blended it with an all over shadow brush. I also brought the shadow down to the beginning of my waterline, and on the inner corner.


Then, I took the shade YDK from the Naked2 Palette and I applied it on my creases with a small fluffy brush, and brow it down to the low outer corner of my eyes. 


I really wanted my eyes to pop, as always, so I took the Half-Baked shadows from the Naked2 Palette, which is a gold sparkly shadows. I just applied this shadows in the center of my eyelids. 


Even though I liked the look like that, I still wanted to apply a little bit of eyeliner, so I took the 24/7 liquid liner from Urban Decay and I drew a thin line and finished it with a small wing at the end. 


I then applied mascara with the Too Faced Better Than Sex mascara. I applied on my top and bottom lashes.


After this step, it was time to complete the rest of my face if you can say that. I took my Bourgois Maxi Delight Bronzer, which is quite sparkly so it was perfect for the look I was going for. I forgot how much I loved this bronzer, it smells so good and it really brights up the face. So I applied this along my jaw line, on the sides of my forehead, down my chin as well.


For Blush I used a creamy blush from Topshop in the shade Flush and I applied it on my cheeks Then I took the Bobbi Brown Shimmer Brick in the shade Nectar and I applied on top of the cream blush to set it.


For highlighter I used the highlighter stick from Kiko on the top of my cheeks, down my nose, cupid bone and under my eyebrows, and I blended it with my finger. I then took the Mac Mineralize powder and I applied on the same spot to set the first highlighter and get a very glowing look. 


Last step, lipstick! I applied the M.A.C Red lipstick from Mac. I really love, it's the perfect Christmas Red lipstick, it stays on forever and the color is just amazing. 


That's it for the finished look, I hope you like it, let me know what you think! I really had fun doing this makeup, and I really like the result. 


Don't forget to follow me on Blog Lovin so you'll know whenever I post something. I have a lot of goodies coming your way, so stay tuned!

See you soon,

Love,

Elsa.